以下紀錄 Android Studio 綁定 git 的方法:
我用的是 Android Studio 3.5.2,這篇文章預設是裝好 git 軟體了,然後可以在 Android Studio:
“File” -> “Settings”
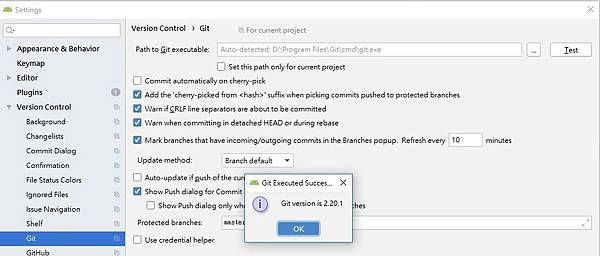
點開 Version Control,可以看到 Git,確定一下 Path to Git executable 路徑是否正確,可以直接點右側的 Test 試試看,如果有裝成功,會出現如下畫面:

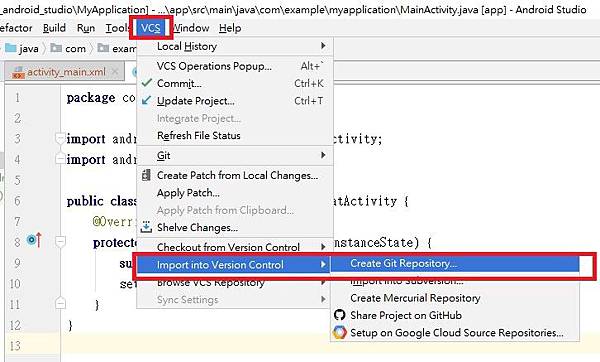
接著把Android Studio專案綁到git:

然後就開啟Git Bash:

接下來就使用指令方式移動到你的 Android Studio 資料夾底下:

=== git 指令教學===
直接鍵入下述指令,初始化git:
|
git init |
然後使用下述指令將整個專案加入,注意 add與逗點中間有空白:
|
git add . |
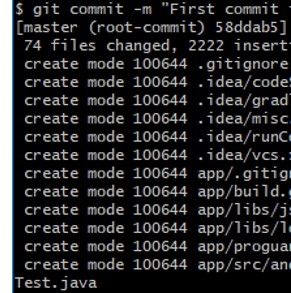
然後就可以 commit,commit 提交,這時候還沒有把檔案推到git,提交後才可以進行push,commit如下:
|
git commit –m “description of this commit” |

接著記得上github申請你的git repository,然後複製git,然後使用下述指令來綁定 android studio git 與網路上的git空間:
|
git remote add origin https://your git ip or url |
接著就可以 push,指令如下:
|
git push –u origin master |
如果push時遇到下述錯誤:
|
Error: failed to push some refs to ‘url’ |
可以使用該指令pull git上的檔案:
|
git pull origin master –allow-unrelated-histories |
然後再重新push就可以了。
之後如果有新的更新,就是先:
- git pull origin master (保持最新)
- git add 檔名 (要push的檔名加入)
- git commit –m “description” (提交這次commit)
- git push –u origin master (push)
打完收工
Reference:
https://andy6804tw.github.io/2017/07/24/android-git/
https://blog.csdn.net/liqing0013/article/details/80694893
https://gitbook.tw/chapters/using-git/amend-commit2.html


 留言列表
留言列表